No-Sew Amigurumi Techniques: Faster, Seamless Crocheting
Tired of assembling multiple tiny pieces with a tapestry needle? Discover smart no-sew amigurumi techniques to finish your plushies faster, sturdier, and hassle-free.
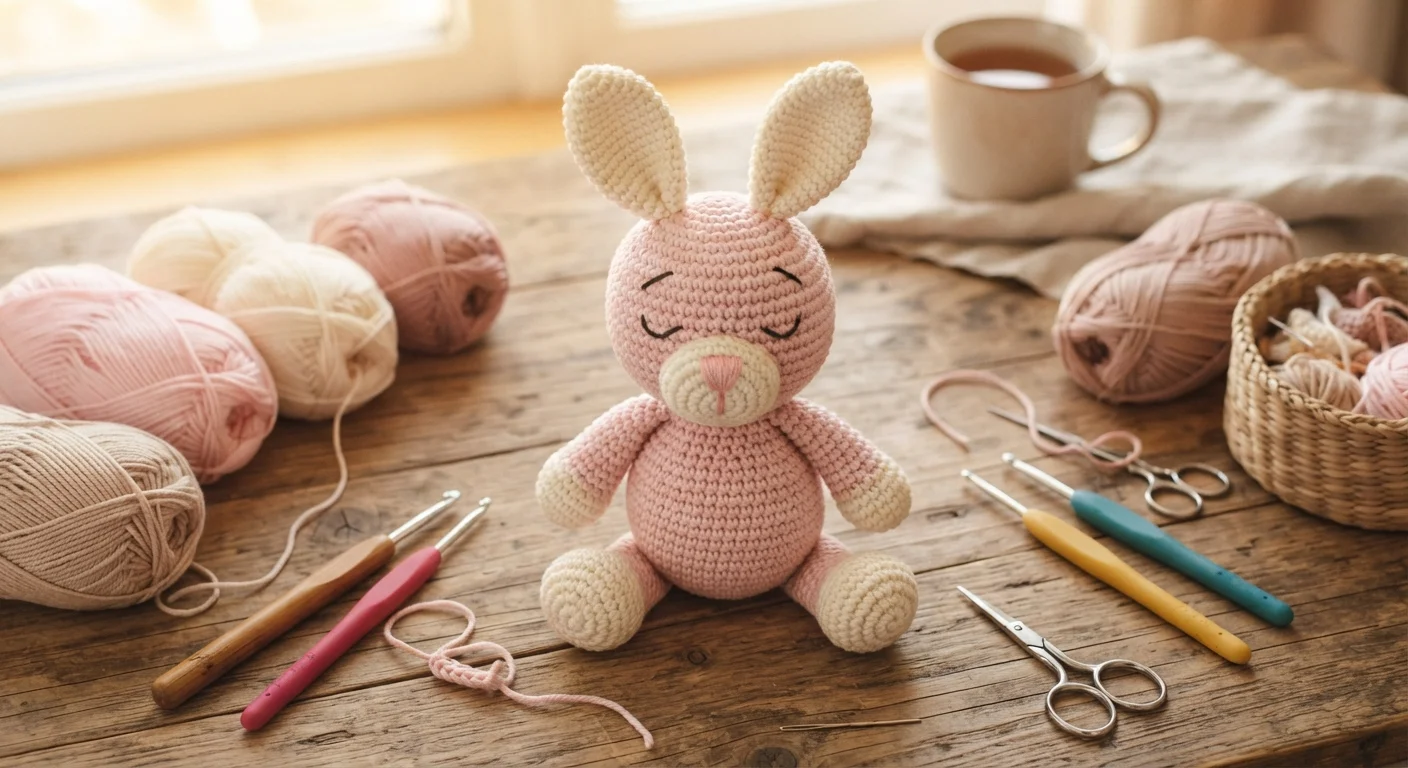
Do you love the rhythmic meditation of crocheting stitches, only to feel your enthusiasm stall the moment it's time to assemble all the individual parts? You are definitely not alone. For many amigurumi crafters, pinning limbs, lining up ears symmetrically, and threading dull tapestry needles is the most daunting phase of any project. Enter the magic of no-sew amigurumi techniques.
No-sew crocheting means constructing your toy as a single, continuous piece or attaching limbs directly into the working stitches of the body. Let’s pack away the sewing needle and explore how hook-only joins can revolutionize your crafting workflow.
Why Choose No-Sew Techniques?
Switching to no-sew patterns isn't just about cutting corners; it significantly enhances the craftsmanship and durability of your toys:
- Rock-Solid Durability: Because the arms and legs are crocheted directly into the body's structural fabric, little hands or playful pets cannot easily yank them off.
- Guaranteed Symmetry: Sewing freehand can easily result in tilted ears or uneven arms. With no-sew instructions, limb placement corresponds to exact stitch counts, guaranteeing spot-on alignment every single time.
- Instant Gratification: You eliminate the tedious process of weaving in dozens of yarn tails. The moment your final fastening stitch is tied, your plushie is essentially finished!
Pro Tip: When working no-sew patterns, your stitch marker is your best friend. A single miscounted stitch can shift an entire arm toward the belly instead of the side.
1. Joining Legs into the Body
The foundation of bottom-up no-sew projects begins by connecting both legs into one continuous round:
- Crochet the first leg completely, fasten off, and tuck in the tail.
- Crochet the second leg, but do not cut the working yarn.
- Chain across between the legs according to your pattern (usually 2 to 4 chains).
- Insert your hook into the designated stitch of the first leg and work a single crochet to join.
- Continue working around the first leg, along one side of the connecting chains, around the second leg, and across the other side of the chains.
This simple loop establishes the base of your torso seamlessly, without a single bumpy seam or weak joint.
2. Crocheting Arms and Ears In-Round
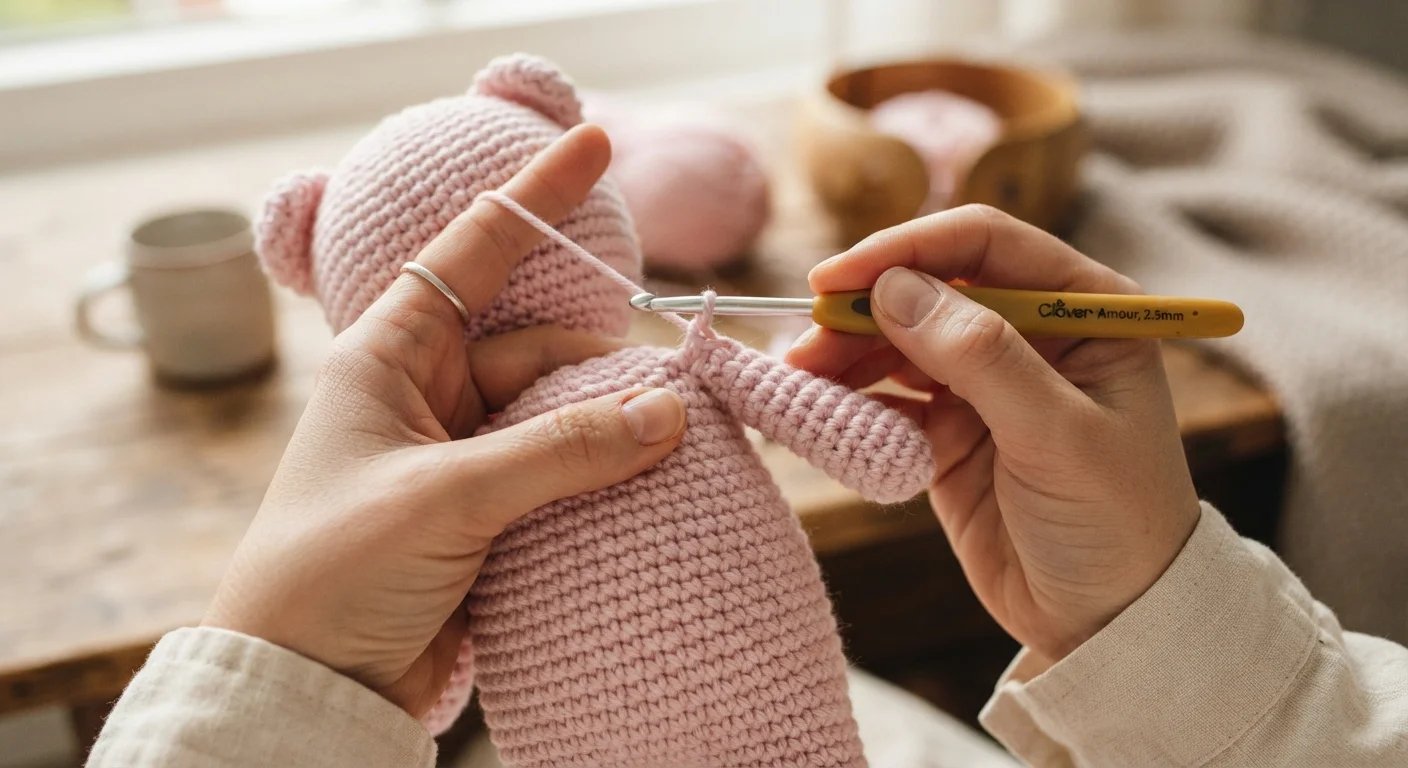
Instead of sewing limbs onto the finished torso, you can lock them in place precisely when you reach the shoulder round.
- Pre-make both arms and lightly stuff only the lower halves, leaving the tops flat.
- Flatten the opening of the arm and crochet across the top edge to close it.
- When your pattern reaches the arm attachment round on the body, hold the arm flat against the outside of the torso.
- Insert your hook through both loops of the arm edge and through the next stitch of the body simultaneously, then complete a standard single crochet.
- Repeat across 3–4 stitches until the limb is fully anchored.
The result is a flexible, secure limb join that lies flat without any bulky sewing ridges.
3. Popcorn & Bobble Stitches for Paws and Noses
Crocheting tiny, fiddly 6-stitch paws can be frustrating. Smart designers solve this by integrating paws directly into the body round using bobble stitches (or popcorn stitches).
By working 4 or 5 partially completed double crochets into the same stitch and pulling through all loops together, you pop out a neat, spherical bump on the right side of your fabric. These bumps work wonderfully as puppy paws, bear muzzles, or bunny tails—all without cutting your yarn even once.
| Technique | Best Used For | Key Advantage |
|---|---|---|
| Continuous Leg Join | Lower body & hips | Seamless transition with zero sewing |
| Crochet-As-You-Go Limbs | Arms, ears, wings | Perfectly level, ultra-durable attachments |
| Bobble / Popcorn Stitches | Noses, paws, tails | Instantly creates 3D details in-round |
| Surface Crocheting | Collars, ruffles, skirts | Adds clothing layers directly to the body |
Crucial Tips for Flawless No-Sew Projects
- Stuff Progressively: Don't wait until the head is closed. Once your legs are joined and you move past the hips, stuff the bottom firmly. It becomes much harder to pack fiberfill into tight feet later on.
- Mind Your Tension: When crocheting through both a limb and the body, pull your working yarn slightly snugger than usual to prevent visible gaps or holes at the joints.
- Verify Orientation: Always double-check that limbs with elbows, thumbs, or paw pads face the front before you work that row.
No-sew amigurumi will completely transform your crochet speed and confidence. Give this seamless approach a try on your next project! We’d love to see what you create—share your finished no-sew cuties with our cozy community by tagging @aylawangurumi on Instagram!