A Complete Guide to Joining Motifs in Amigurumi CAL Projects
Discover effortless techniques and expert tips to neatly join crochet motifs in your amigurumi CAL projects with seamless precision.
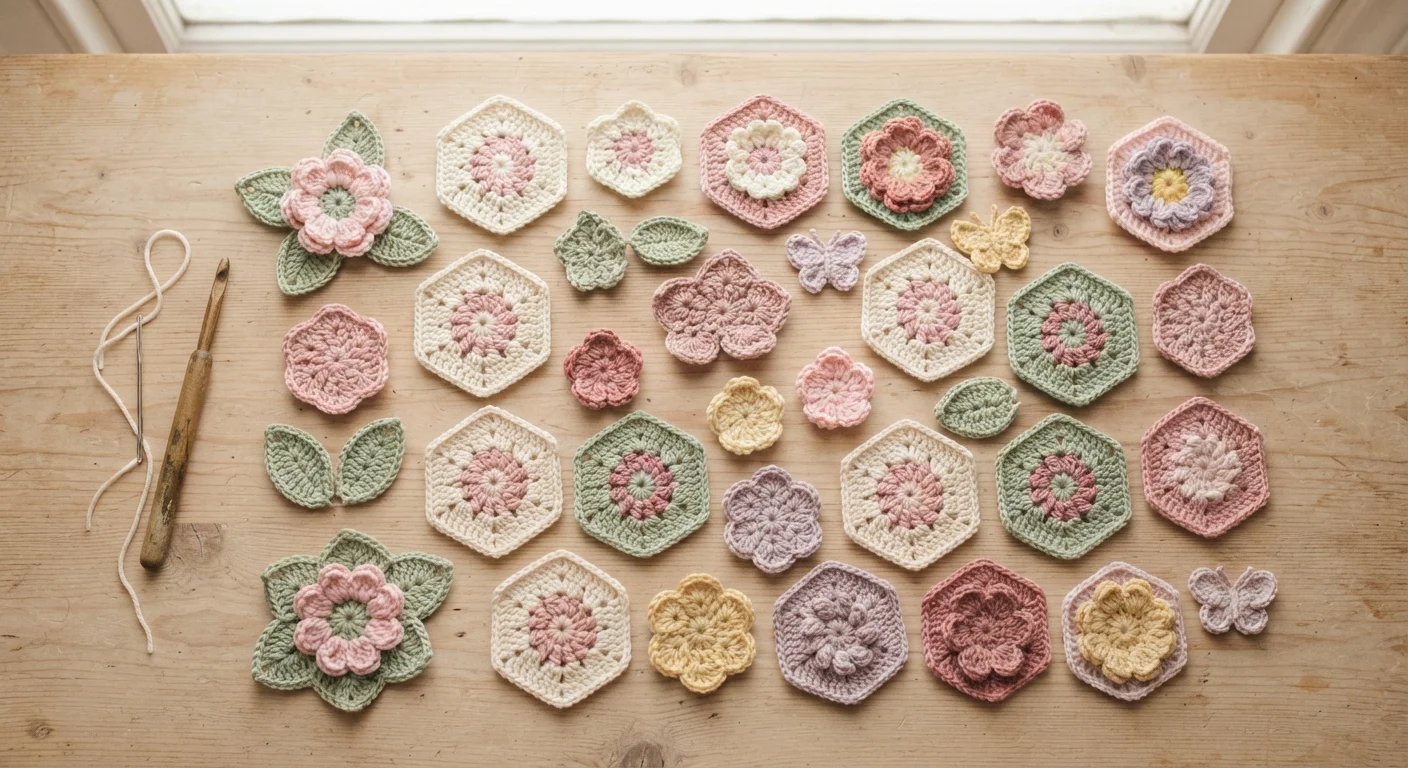
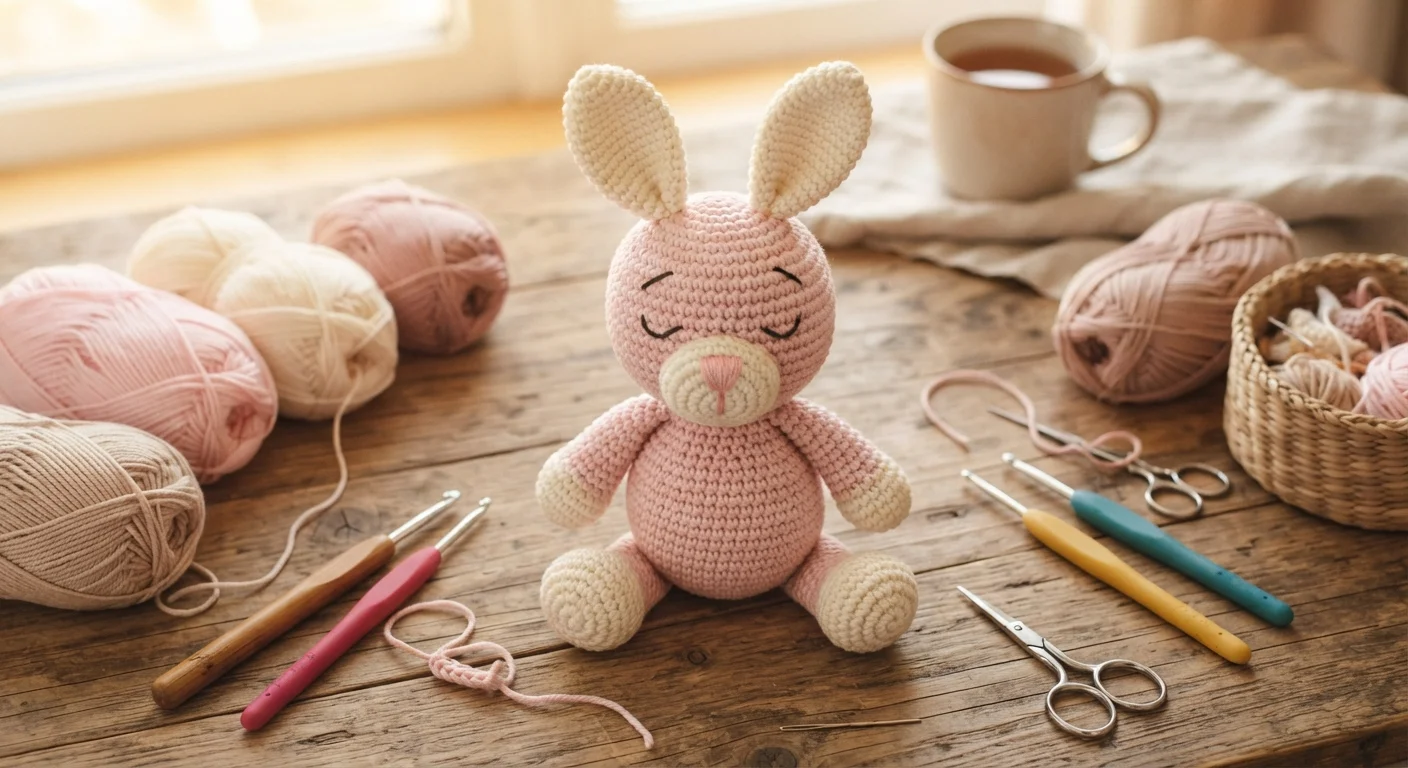
Taking part in a Crochet-Along (CAL) is one of the most rewarding adventures in the fiber arts community. Waiting for the weekly pattern release and stitching alongside fellow makers around the world brings unmatched joy. This is especially true for modular amigurumi projects—like African Flower animals, patchwork turtles, or heirloom teddy bears composed of dozens of small motifs.
Yet, once that satisfying stack of colorful motifs is finished, many crafters encounter the most daunting phase: assembling them cleanly. An incorrect joining method can warp your shape, create awkward puckering, or let fiberfill peek through once stuffed.
In this guide, we break down the most reliable and aesthetic joining methods tailored specifically for amigurumi CAL projects.
Before You Begin: Why Pre-Blocking Matters
While traditional single-piece amigurumi rarely requires blocking, modular motif-based projects benefit immensely from it.
- Lightly mist your cotton or blend motifs with lukewarm water and pin them out on a blocking board.
- Allow them to dry completely to relax the fibers, flatten curled corners, and make your edge stitches remarkably distinct and easy to count.
Pro Tip: Count your border stitches on every motif before seaming. Using locking stitch markers to clip the corner points together will prevent diagonal shifts and uneven edges while you sew.
4 Proven Techniques for Joining Amigurumi Motifs
Because amigurumi toys must hold firm stuffing without stretching open, selecting the right seam is essential:
1. The Mattress Stitch – The Invisible, Flat Seam
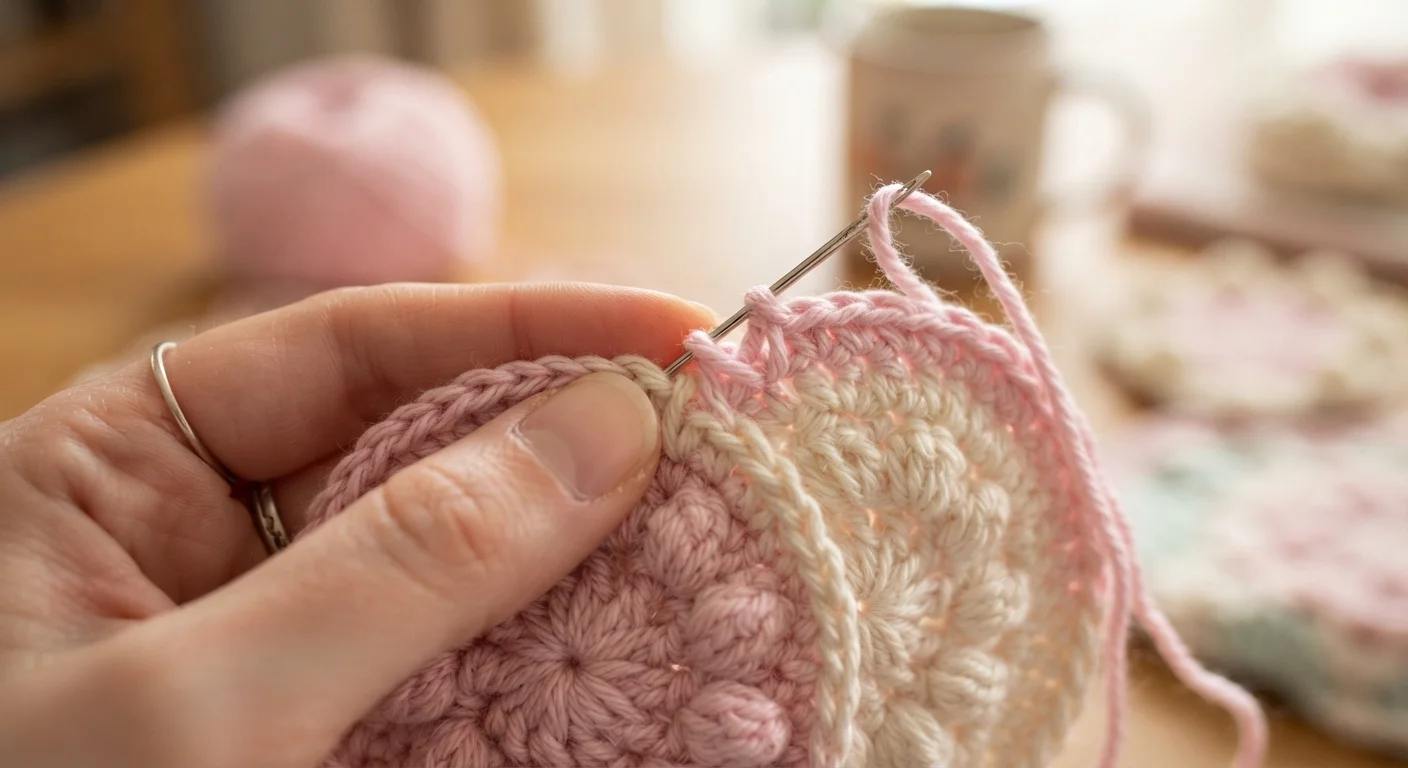
Worked with a blunt tapestry needle, the mattress stitch is widely considered the gold standard for amigurumi seaming.
- How to Do It: Place two motifs side by side with the right sides facing up. Insert your needle under the inner loop (or both loops) of one motif, then into the corresponding loop of the neighboring motif. After working a few stitches, pull gently. The stitches draw together like a zipper.
- Why It Works: It produces a virtually invisible, flat join without creating a bulky interior or exterior ridge.
2. Slip Stitch Join – Fast and Sturdy
If you prefer keeping your crochet hook in hand rather than threading a needle, the slip stitch seam is your best ally.
- How to Do It: Hold two motifs with their right sides facing together. Insert your hook through the outer loops (back loop only of each motif), yarn over, and pull through a slip stitch loosely.
- Why It Works: It is fast, durable, and provides high tensile strength against dense polyester stuffing.
3. Join-As-You-Go (JAYG)
The JAYG technique attaches each motif during the final round, effectively eliminating hours of seaming at the end of the CAL.
- How to Do It: As you work the last round of your current motif, you pull up loops through the corners and side chain spaces of the adjoining finished motif.
- Amigurumi Consideration: While fantastic for blankets and cardigans, use this for toys only if your motif pattern is dense. If the join creates noticeable gaps, stick with a needle-based seam to prevent stuffing leakage.
4. The Whip Stitch – Simple and Accessible
Ideal for beginners seeking a reliable, low-stress method.
- How to Do It: Align two motifs right sides facing. Sew spiraling loops through both edges. Keep consistent tension so the fabric doesn’t gather or pull.
- Watch Out: Avoid over-tightening, which causes bunching along the seams.
Method Comparison at a Glance
| Method | Tool Used | Seam Strength | Visibility / Texture | Difficulty Level |
|---|---|---|---|---|
| Mattress Stitch | Tapestry Needle | Very High | Nearly Invisible | Intermediate |
| Slip Stitch Seam | Crochet Hook | High | Slight Internal Ridge | Easy |
| Whip Stitch | Tapestry Needle | Moderate | Fine Visible Line | Beginner |
| JAYG | Crochet Hook | Moderate-High | Decorative / Open | Advanced |
Golden Rules for Flawless Toy Assembly
- Use Project Yarn: Whenever possible, sew seams using the same yarn brand and color as the motif's outer border to hide minor tension variations.
- Utilize Tails: Leave generous tails when fastening off each motif; using these ends for seaming minimizes the number of knots you need to weave in later.
- Test Stitches with Stuffing: As your 3D shape forms, insert a handful of fiberfill behind joined motifs. If you notice any gaps spreading open, adjust your stitch placement to be closer together.
Participating in a CAL is all about growing your skills and celebrating progress piece by piece. Which joining method works best for your hands? Share your colorful motifs and ongoing CAL projects with us—be sure to tag @aylawangurumi on Instagram so we can cheer you on!